
You might wonder what a valve core removal tool does. This handy device helps you take out the core from valves like Schrader types. You often use it for jobs such as refrigerant recovery, system evacuation, or charging systems. Learning this skill feels easy, and you’ll get the hang of it quickly!
Key Takeaways
A valve core removal tool is essential for tasks like fixing flat tires and servicing air conditioning systems. It allows you to easily remove and replace valve cores.
Always clean the valve stem before and after using the tool. This prevents leaks and ensures a proper seal when reinstalling the core.
Inspect valve cores regularly for signs of wear or damage. Replacing old or corroded cores helps maintain tire pressure and prevents air leaks.
What Is a Valve Core Removal Tool?
Tool Purpose and Use
A valve core removal tool helps you take out or put in the small core inside a valve. You use this tool for things like fixing a flat tire, working on a bike, or servicing air conditioning and refrigeration systems. The tool has a special tip that fits right into the valve core, so you can twist it out or screw it back in without much effort. Most people find it easy to use, even if they have never tried it before.
You might see different types of valve core removal tools at the store. Some are made for large bore valves in cars, while others work best for standard or small valves. There are even master tools that fit many kinds of valves, so you do not need a separate tool for each job. Multi-functional tools are popular because they save space in your toolbox. Bicycle-specific tools are also common, especially if you ride often.
💡 Tip: You can find a basic valve core removal tool for around $10.95, so it is an affordable addition to your toolkit.
Types of Valves
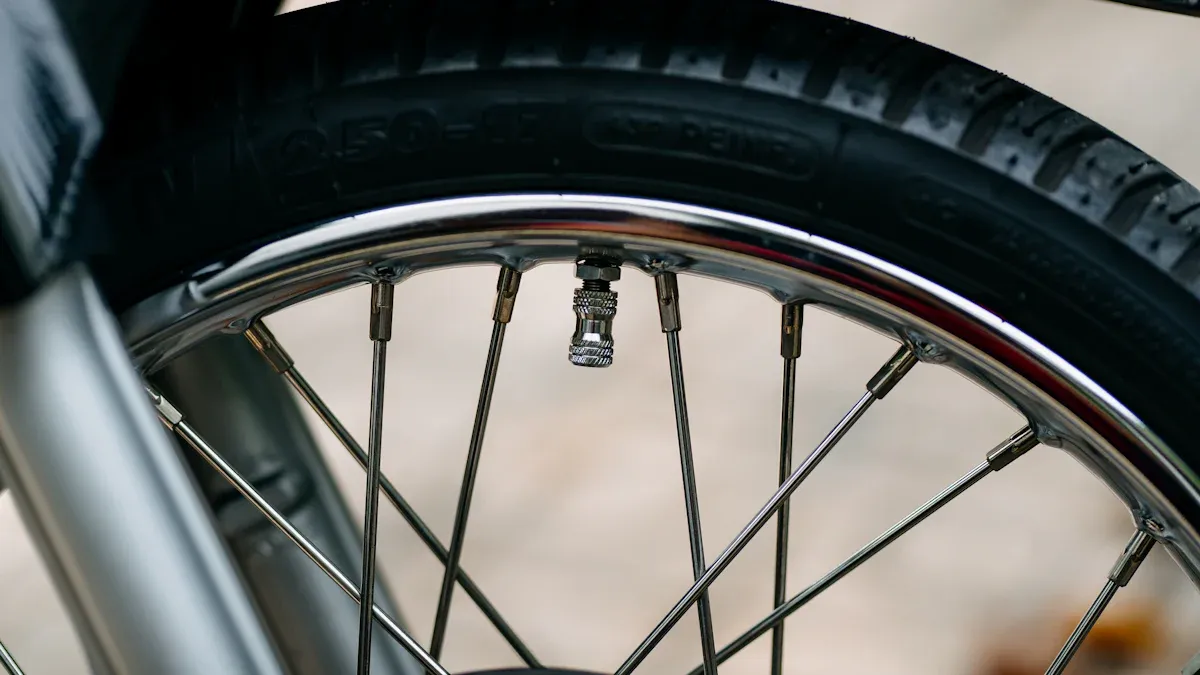
You will use a valve core removal tool with several types of valves. The most common are Schrader and Presta valves. Schrader valves are simple and have a spring-loaded core. Presta valves look a bit more complex and have extra parts, like a locknut and lockring. Here is a quick comparison:
Feature |
Presta Valve |
Schrader Valve |
|---|---|---|
Valve Core |
Removable and replaceable |
Removable core with spring-loaded check |
Design |
More complex with additional parts |
Simpler design |
Inflation Mechanism |
Requires unscrewing locknut to access core |
Direct access through the valve cap |
Locking Mechanism |
Uses a lockring to secure the valve |
No additional locking mechanism |
Some valve core removal tools also work with valves in refrigeration and hydraulic systems. You just need to make sure the tool matches the valve type you want to work on.
How to Use a Valve Core Removal Tool
Removing the Valve Core
Taking out a valve core is simple when you follow the right steps. Here’s how you can do it safely and easily:
Deflate the Tire or System
Press a thin object, like a small screwdriver or the tip of a pen, into the center pin of the valve. Let all the air escape before you start. This step keeps things safe and prevents a sudden burst of air.Clean the Valve Stem
Wipe the valve stem with a clean cloth. If you see any dirt or sticky sealant, use an ammonia-based cleaner. Rinse with plain water and dry it off. Clean parts help you avoid leaks later.Insert the Valve Core Removal Tool
Take your valve core removal tool and fit the slotted end into the notches of the valve core. Make sure it sits snugly. If it feels loose, try again until it fits just right.Unscrew the Valve Core
Turn the tool counterclockwise. The core will loosen and come out. Go slow so you don’t drop the tiny core or damage the threads.
🛠️ Tip: Always keep a small container nearby to hold the valve core. These little parts are easy to lose!
Installing the Valve Core
Putting the valve core back in is just as important as taking it out. Here’s what you need to do:
Check the Valve Core
Look at the core for any signs of wear or damage. If it looks old or bent, replace it with a new one. A fresh core helps prevent air leaks.Place the Valve Core in the Stem
Hold the valve core with your fingers and set it into the valve stem. Make sure it sits straight.Use the Valve Core Removal Tool to Tighten
Fit the tool onto the core and turn it clockwise. Tighten it until it feels snug. Don’t force it! Over-tightening can strip the threads or break the core.-
Check the Torque
For most jobs, you want to tighten the core to about 3 to 5 inch-pounds. If you work with TPMS valves, aim for 4.0 inch-pounds. Here’s a quick table for reference:Application Type
Torque Specification
Valve core installation
3 to 5 inch pounds
TPMS valve core
4.0 inch pounds
Standard aluminum wheels
7 to 11 ft/lbs (80 to 125 in-lbs)
⚠️ Note: If you don’t have a torque wrench, just make sure the core feels snug but not overly tight.
Test for Leaks
Inflate the tire or system a little and listen for hissing. If you hear air, tighten the core a bit more. Still leaking? You might need a new valve core.
Safety Tips for Beginners
You want your valve core removal tool to work well and keep your tires or systems safe. Here are some tips to help you avoid common mistakes:
Inspect Valve Stems Regularly
Look for cracks or signs of wear. Replace the valve stem if it looks damaged. This step helps prevent air leaks.Clean Before and After Use
Always clean the valve stem before removing or installing the core. Dirt and old sealant can cause leaks or make the core stick.Don’t Over-Tighten
Tightening the core too much can damage the threads or break the core. Use gentle pressure.Use the Right Tool
Make sure your valve core removal tool matches the valve you’re working on. Using the wrong tool can strip the core or damage the stem.Watch for Air Leaks
If you notice air leaking after you finish, check the core and stem again. Sometimes, a worn core or dirty stem is the problem.Store Small Parts Safely
Valve cores are tiny. Keep them in a safe spot so you don’t lose them during your project.
💡 Tip: If you ever feel unsure, ask a professional for help or double-check your work before inflating to full pressure.
Using a valve core removal tool gets easier with practice. Take your time, follow these steps, and you’ll get great results every time.
When to Remove a Valve Core
Common Reasons
You might wonder why you would ever need to take out a valve core. There are several everyday situations where this tool comes in handy. Here are some of the most common reasons:
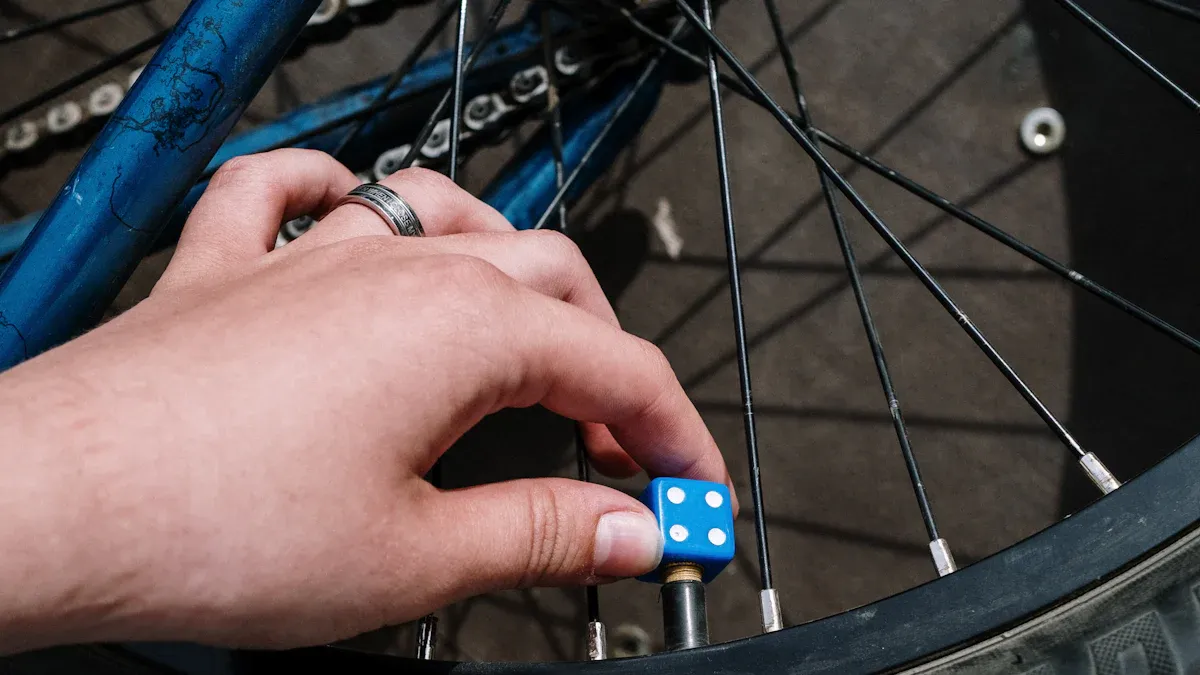
You want to inject sealant into a tubeless bicycle tire. Removing the core makes this job quick and easy.
You notice a leak and need better access to the inside of the valve. Taking out the core helps you inspect and fix the problem.
You plan to replace an old valve core when installing new tires. This step helps prevent future leaks and keeps your tires in top shape.
If you work on cars or bikes, you’ll probably run into these reasons sooner or later. Removing the valve core can save you time and help you get better results.
Signs Removal Is Needed
How do you know when it’s time to remove a valve core? Look for these signs:
The valve core looks corroded or rusted. Moisture can cause this problem over time.
You notice slow air leaks, even when the valve cap is tight.
Your tire won’t hold pressure, but you don’t see any punctures.
You’re installing new tires and want to start fresh with a new valve core.
If you spot any of these issues, grab your valve core removal tool and check things out. Regular inspections help you catch problems early.
Service Condition Severity |
Example Applications |
Recommended Inspection Interval |
|---|---|---|
Light Duty |
Clean Water Lines, Low-Pressure Gas |
24-36 Months |
Standard Duty |
Refined Products, Non-Abrasive Crude Oil |
18-24 Months |
Heavy Duty |
Abrasive Slurries, Sour Gas (H2S), Drilling Mud |
6-12 Months |
Severe Duty |
Offshore Subsea, High-Cycle Frequency, Sandy Crude |
3-6 Months |

For most valves in normal conditions, checking once a year works well. If you deal with high pressure, heat, or corrosive fluids, inspect every six months or even more often. Keeping an eye on your valve cores helps you avoid leaks and keeps your equipment running smoothly.
You can master the valve core removal tool with a little practice. Always test for leaks after you finish. Focus on the valves that seem loudest, check both sides, and make sure everything shuts off tight. Handle the tool gently and keep small parts safe.
Keep practicing—soon, this will feel easy!
FAQ
Can I use the same valve core removal tool for both Schrader and Presta valves?
You can use some multi-purpose tools for both types. Always check the tool’s label before you start.
Tip: Specialized tools work best for each valve.
What should I do if the valve core won’t come out?
Try cleaning the valve stem first. If it still sticks, use a little lubricant.
Don’t force it.
You might damage the threads.
How often should I replace a valve core?
You should replace the valve core if you see rust, leaks, or damage.
🛠️ Most people swap them out once a year for safety.


