
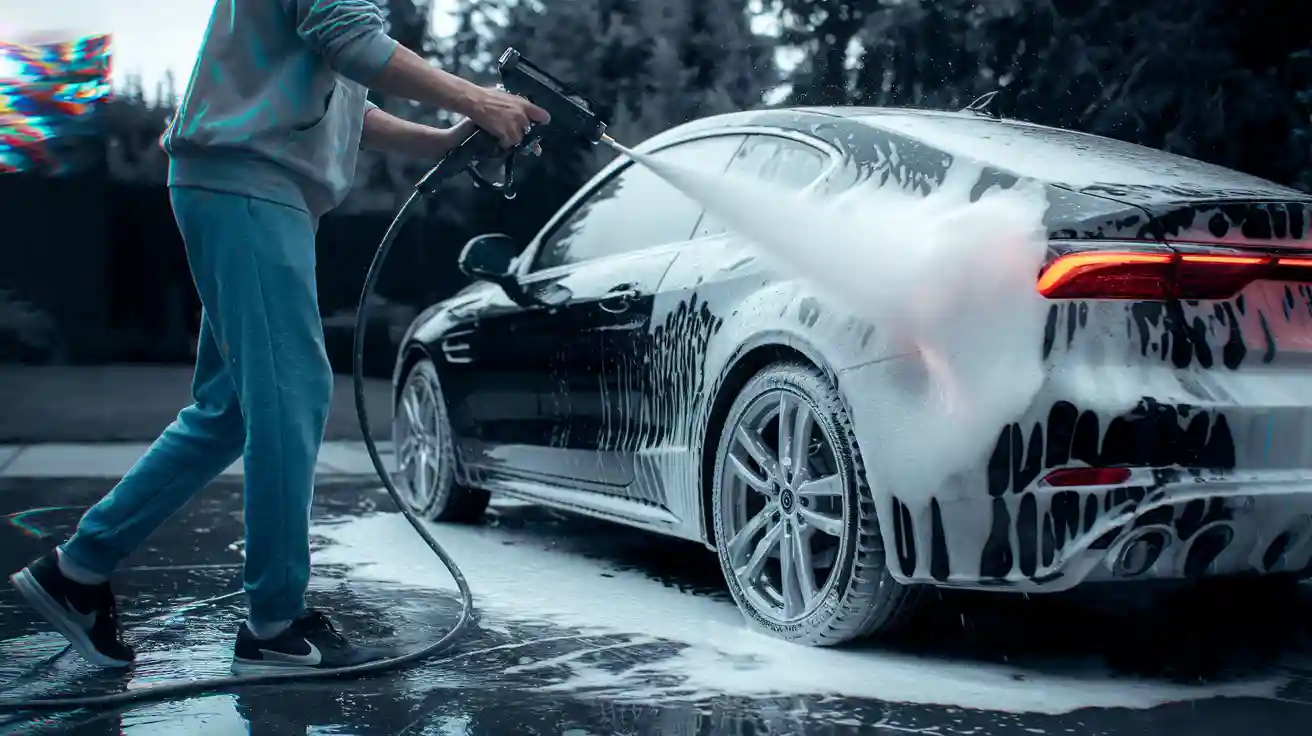
Washing your car no longer needs to feel like a hassle. Using a foam spray gun for car wash transforms the experience, making it quicker and more enjoyable. The rich foam effortlessly lifts dirt and grime, minimizing the chance of scratches. It’s a reliable and efficient method to maintain your car’s paint in pristine condition.
Key Takeaways
Using a foam spray gun makes washing your car quicker and reduces the chance of scratches by 40%.
Choose a pH-balanced car wash soap that works with foam guns for the best cleaning results.
Always rinse your car thoroughly after applying foam to avoid soap residue and water spots.
Tools and Materials Needed
Washing your car with a foam spray gun is easier with the right tools. Here’s what you’ll need:
Foam Spray Gun for Car Wash
The foam spray gun is the main tool for this job. It makes thick foam that sticks to your car, loosening dirt for easy cleaning. Some foam guns let you adjust the foam thickness and spray style. Adjustable ones give you more control, while non-adjustable ones are simpler. Foam guns work with garden hoses, but foam cannons need pressure washers for stronger cleaning.
Tip: The Gilmour Foamaster II Foam Gun is popular for using less soap while making lots of foam.
Car Wash Soap (pH-balanced and foam-compatible)
Good car wash soap is key for great results. Pick a pH-balanced soap that’s safe for your car’s paint. Make sure it works with foam guns to create thick lather. This lather helps lift dirt without scratching your car.
Note: Foam washing lowers the chance of scratches by 40% compared to regular washing.
Water Source and Hose (or Pressure Washer)
You’ll need water to run your foam spray gun. A garden hose works fine for foam guns. Foam cannons need a pressure washer for stronger water flow. Pressure washers help rinse foam and dirt faster.
Microfiber Towels or Drying Cloths
Drying your car is as important as washing it. Use microfiber towels because they’re soft and absorb water well. They also prevent streaks and water spots, leaving your car shiny.
Optional Accessories (Buckets, Grit Guards, Wheel Brushes)
These extras can make washing easier:
Buckets: Use one for soap and another for rinsing to keep dirt out.
Grit Guards: Put them in buckets to trap dirt and stop scratches.
Wheel Brushes: These help clean wheels and tires, which get very dirty.
Quick Fact: Foam washing can save up to 30% of your time by covering your car quickly and evenly.
Evidence Comparison Table
Here’s how foam spray guns compare to regular car washing tools:
Evidence Type |
Details |
|---|---|
Fewer Micro-Scratches |
Foam washing lowers scratches by 40%. |
Time-Saving |
It can save up to 30% of your time. |
Customer Happiness |
75% of users prefer foam washing. |
Better Cleaning |
Foam sticks to dirt, making cleaning easier. |
Adjustable Options |
Change foam thickness and spray style as needed. |
With these tools, you can wash your car like a pro without scratches!
Preparation Before Washing
Before you start washing your car, a little preparation goes a long way. These steps ensure a smooth and effective cleaning process.
Inspect and Assemble Your Foam Spray Gun
First, check your foam spray gun to make sure it’s ready to go. Follow these steps to assemble it properly:
Confirm that all parts of the foam spray gun kit are included.
Pick a foaming car shampoo that works with your spray gun.
Add the shampoo to the foam gun’s cannister, following the manufacturer’s instructions for the right amount.
Fill the cannister with water, mixing it gently to avoid creating frothy foam.
Attach the spray nozzle and cannister securely to the foam gun.
Taking a few minutes to inspect and assemble your foam spray gun ensures it works perfectly when you start washing.
Choose and Dilute the Right Car Wash Soap
Not all soaps are created equal. Use a pH-balanced car wash soap that’s safe for your car’s paint. Check the label to confirm it’s foam-compatible. Dilute the soap according to the instructions on the bottle. Too much soap can create overly thick foam, while too little might not clean effectively. Getting this step right helps you apply foam evenly and achieve the best results.
Set Up Your Workspace (Ensure Proper Drainage and Shade)
Pick a spot with good drainage to avoid puddles forming around your car. Washing your car in the shade is also important. Direct sunlight can dry the soap too quickly, leaving streaks or spots. A shaded area keeps the surface cool and makes cleaning easier.
Pre-Rinse the Car to Remove Loose Dirt
Before you apply foam, give your car a quick rinse with water. This step removes loose dirt and debris that could scratch the paint during cleaning. Use a garden hose or pressure washer to cover the entire car, starting from the top and working your way down. A thorough pre-rinse sets the stage for a scratch-free wash.
Step-by-Step Process
Attach and Test the Foam Spray Gun
Start by attaching your foam gun to the water source. If you're using a garden hose, connect it securely to the foam gun. For foam cannons, attach them to your pressure washer. Once connected, test the setup by spraying a small amount of foam. This ensures everything is working properly and helps you adjust the foam thickness if needed.
Tip: A quick test spray lets you check the foam consistency and coverage before you begin washing your car.
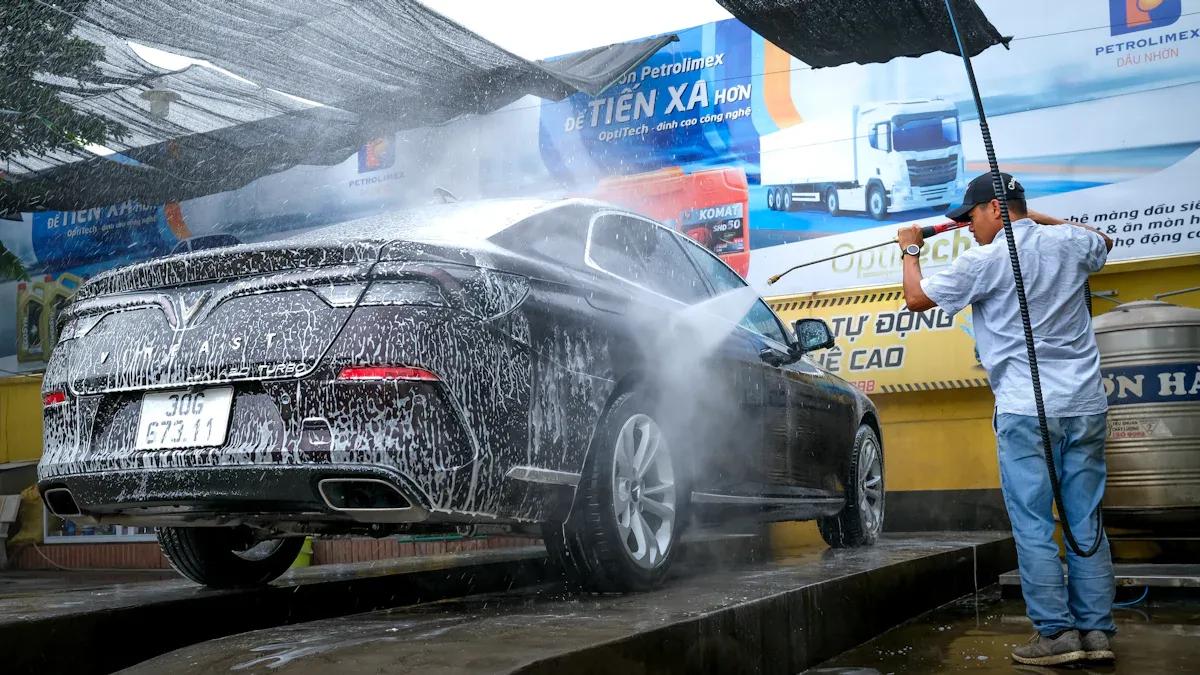
Apply Foam Evenly to the Car (Start from the Top)
When applying foam, always start at the top of your car and work your way down. This method lets gravity help spread the foam evenly across the surface. Cover the car with a thick layer of foam, ensuring every part is coated, including hard-to-reach areas like the wheel wells and bumpers.
Foam clings to dirt and debris, using gravity and chemical action to lift contaminants away from the surface.
Foam cannons mix water with car wash shampoo to create thick foam that adheres to the car's surface, loosening dirt effectively.
Pro Tip: Snow foam works best when applied in a steady, sweeping motion. Avoid spraying too close to the surface to prevent uneven coverage.
Let the Foam Dwell to Break Down Dirt
Once the foam is applied, let it sit for 3 to 5 minutes. This dwell time allows the foam to break down dirt and grime, making it easier to rinse off later. While the foam works its magic, you can focus on other areas, like preparing your drying towels or cleaning the wheels.
Product dwell time is critical for maximizing cleaning effectiveness.
Allowing the foam to sit while addressing other tasks enhances overall efficiency.
Note: Avoid letting the foam dry on the car, especially in direct sunlight. If it starts drying, spray a little more foam to keep the surface moist.
Scrub the Car Gently (Optional for Stubborn Spots)
For stubborn spots or areas with heavy dirt buildup, use a soft microfiber mitt or brush to scrub gently. Focus on areas like the lower panels, wheels, and grille. Be careful not to apply too much pressure, as this can scratch the paint.
Reminder: Always use a clean mitt or brush to avoid transferring dirt back onto the car.
Rinse Thoroughly with Clean Water
After the foam has done its job, rinse off your car thoroughly with clean water. Start from the top and work your way down, ensuring all foam and dirt are removed. If you're using a pressure washer, adjust the nozzle to a gentle setting to avoid damaging the paint.
Quick Tip: Rinsing in sections helps prevent water spots from forming before you dry the car.
Dry the Car with Microfiber Towels to Prevent Water Spots
Drying is the final step to achieving professional results. Use clean microfiber towels to gently pat the car dry, starting with the windows and working your way down. Microfiber towels absorb water quickly and prevent streaks or water spots, leaving your car with a flawless finish.
Pro Tip: Fold your towel into quarters and rotate to a dry section as you go to maximize its effectiveness.
Tips and Best Practices
Achieving the Right Foam Consistency (Adjust Soap and Water Ratio)
Getting the perfect foam consistency makes your car wash more effective. Start by adding 2–4 ounces of car soap to a 32-ounce foam cannon bottle. Fill the rest with warm water to help the soap mix better. If your water is hard or your pressure washer has low output, adjust the soap amount slightly. Too much soap can create overly thick foam that’s hard to rinse, while too little might not clean well.
Tip: Test the foam on a small section of your car first. This helps you tweak the ratio for the best results.
Optimal Dwell Time for Foam (2-5 Minutes)
Letting the foam sit on your car for 2–5 minutes is key. This gives the snow foam enough time to break down dirt and grime. While the foam works, you can prep your drying towels or clean the wheels. Just don’t let the foam dry on the surface, especially in direct sunlight. If it starts to dry, spray a little more foam to keep it moist.
Pro Tip: Stick to the 2–5 minute window for the best balance between cleaning power and ease of rinsing.
Avoiding Scratches During Scrubbing (Use Soft Mitts or Brushes)
Scrubbing can sometimes cause scratches, but you can avoid this by using soft microfiber mitts or brushes. Always rinse your mitt frequently to remove trapped dirt. Focus on stubborn spots like the lower panels and wheels, but don’t press too hard. Gentle scrubbing paired with the foam’s cleaning power will leave your car spotless without damaging the paint.
Reminder: Never use the same mitt for the wheels and the car’s body. This prevents transferring abrasive particles.
Eco-Friendly Car Washing Practices (Minimize Water Waste)
Washing your car doesn’t have to waste water. Use a foam spray gun or snow foam cannon to cover your car quickly and evenly, reducing the need for excessive rinsing. Work in sections to avoid re-rinsing areas. If possible, wash your car on a lawn or gravel driveway to let the water soak into the ground instead of running off.
Quick Fact: Foam washing can save up to 30% of water compared to traditional methods.
Troubleshooting Common Issues
Foam Spray Gun Not Producing Enough Foam
If your foam spray gun isn’t creating enough foam, don’t worry—it’s usually an easy fix. Start by checking the soap-to-water ratio. Too little soap can result in weak foam, while too much can clog the nozzle. Use a foam-compatible car wash soap and follow the dilution instructions carefully.
Next, inspect your equipment. Look for clogs in the nozzle or air cap. If you spot any, clean them thoroughly. Flush the fluid passages and soak the nozzle in warm water to remove any residue. Regular cleaning prevents issues like inconsistent spray patterns or gun jams.
Tip: Clogging often happens when the spray gun isn’t cleaned after use. Make it a habit to clean the exterior and check filters regularly.
Soap Residue Left on the Car
Soap residue can ruin your car’s finish, but it’s easy to avoid. Always rinse thoroughly after applying snow foam. Start from the top and work your way down, ensuring every inch of foam is washed away. If residue persists, check your soap. Some soaps leave a film if they’re not foam-compatible or diluted properly.
Reminder: Don’t let snow foam dry on your car. If it starts drying, spray more foam to keep the surface moist before rinsing.
Adjusting Equipment Settings for Even Foam Coverage
Uneven foam coverage can make your car wash less effective. Adjust your foam spray gun or snow foam cannon settings to fix this. Start by testing the spray pattern on a small section of your car. If the foam is too thin, increase the soap ratio slightly. If it’s too thick, add more water.
Also, check the nozzle and air cap for blockages. Clean them regularly to ensure smooth operation. Proper maintenance keeps your snow foam cannon working like new.
Pro Tip: Hold the spray gun at a consistent distance from the car’s surface for even foam application.
Preventing Water Spots During Drying
Water spots can ruin the look of your freshly washed car. To prevent them, dry your car immediately after rinsing. Use clean microfiber towels and work quickly, starting with the windows and mirrors. Pat the surface dry instead of wiping to avoid streaks.
If you’re washing your car in direct sunlight, water spots can form faster. Move to a shaded area or rinse in sections to keep the surface cool.
Quick Tip: Fold your microfiber towel into quarters and rotate to a dry section as you go. This maximizes its effectiveness and prevents streaks.
Washing your car with a foam spray gun is simple and effective. Start by preparing your tools, apply foam evenly, let it dwell, rinse thoroughly, and dry for a spotless finish. This car wash guide makes the process safer for your car’s paint and more eco-friendly. Why not give it a try?
-
Benefits of this method:
Reduces scratches compared to traditional washing.
Saves time and water, making it efficient and eco-friendly.
Tip: A foam spray gun eliminates the need for buckets and mitts, simplifying your routine!
FAQ
How do I choose the best car shampoo for foam washing?
Look for high-quality car shampoos that are pH-balanced and foam-compatible. These shampoos protect your car’s paint while creating thick, effective foam.
Can I use regular soap instead of snow foam car shampoo?
No, regular soap can damage your car’s paint. Snow foam car shampoo is specially designed to lift dirt gently without harming the surface.
How often should I wash my car with a foam spray gun?
Wash your car every two weeks to maintain its shine and protect the paint. Adjust frequency based on weather and driving conditions.


